Star Wars Battlefront 2
I'm a big star wars fan and specifically a fan of the Clone Wars. I learned of the mod tool used to modify Star Wars Battlefront called Frosty Toolsuite created by GalaxyMan2015 on twitter/discord. For a long time I've wanted to use my skills as a 3D artist to add my own custom models and favorite gear from the movies and extended universe to the game but mesh import was not a functional feature for the Frosty tool. I reached out to the creator of the mod and with a bit of work he managed to get my Clone Airborne helmet into the game. This lead to a wave of interest in getting mesh import working and he decided to focus on making it functional. Once an alpha version of mesh import was working I decided to have some fun and add another troop from the classic 2005 Star Wars Battlefront 2, the Engineer Trooper. This was a fun passion project of mine and the tools I used made it really easy. This is a quick overview of what I did to bring this mod to life:
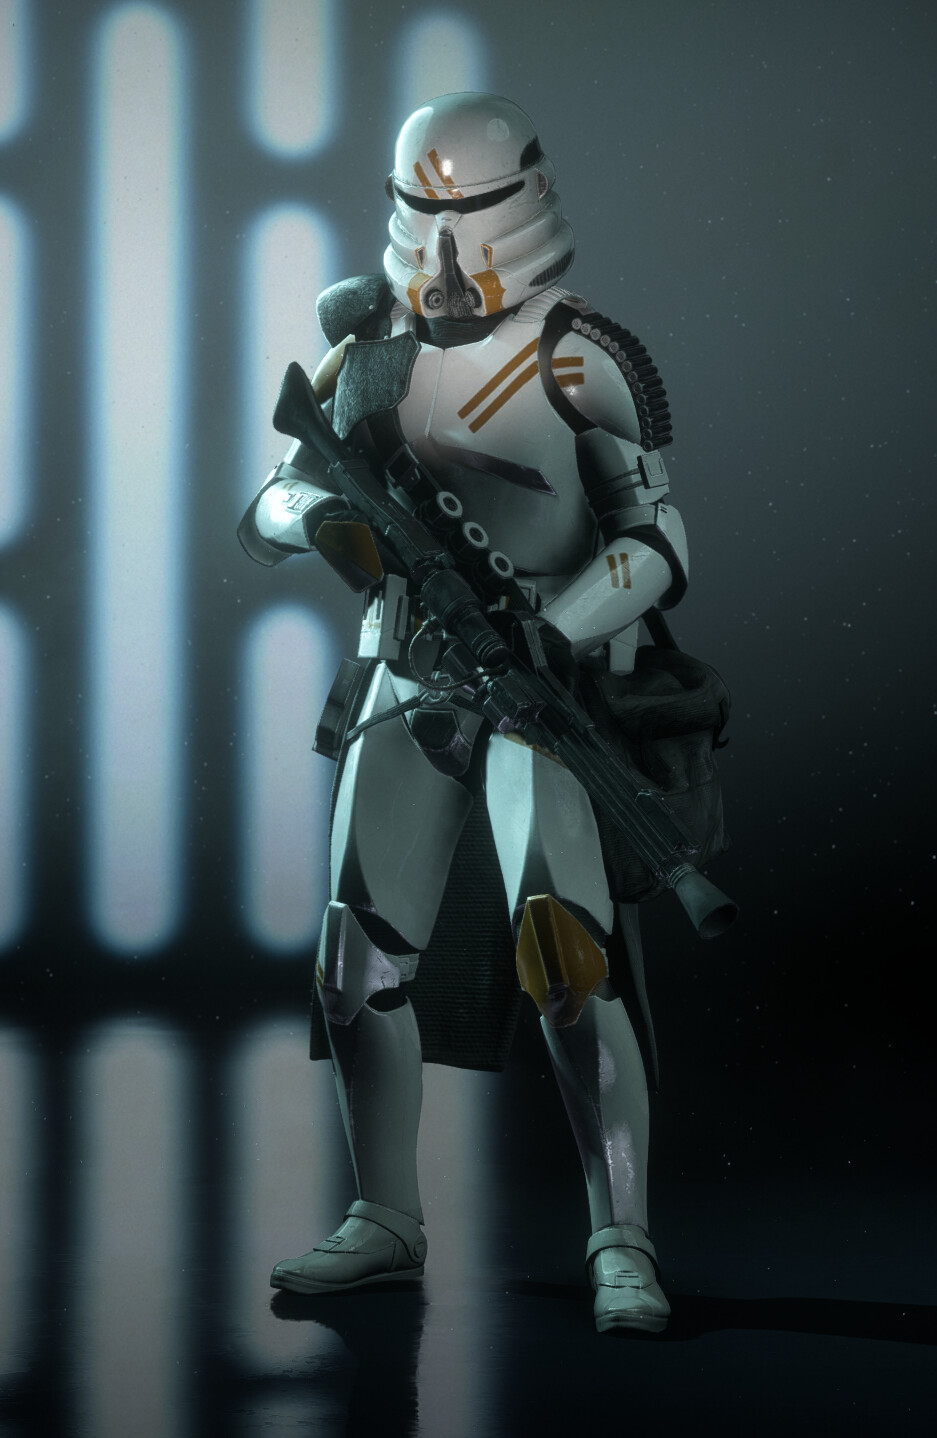
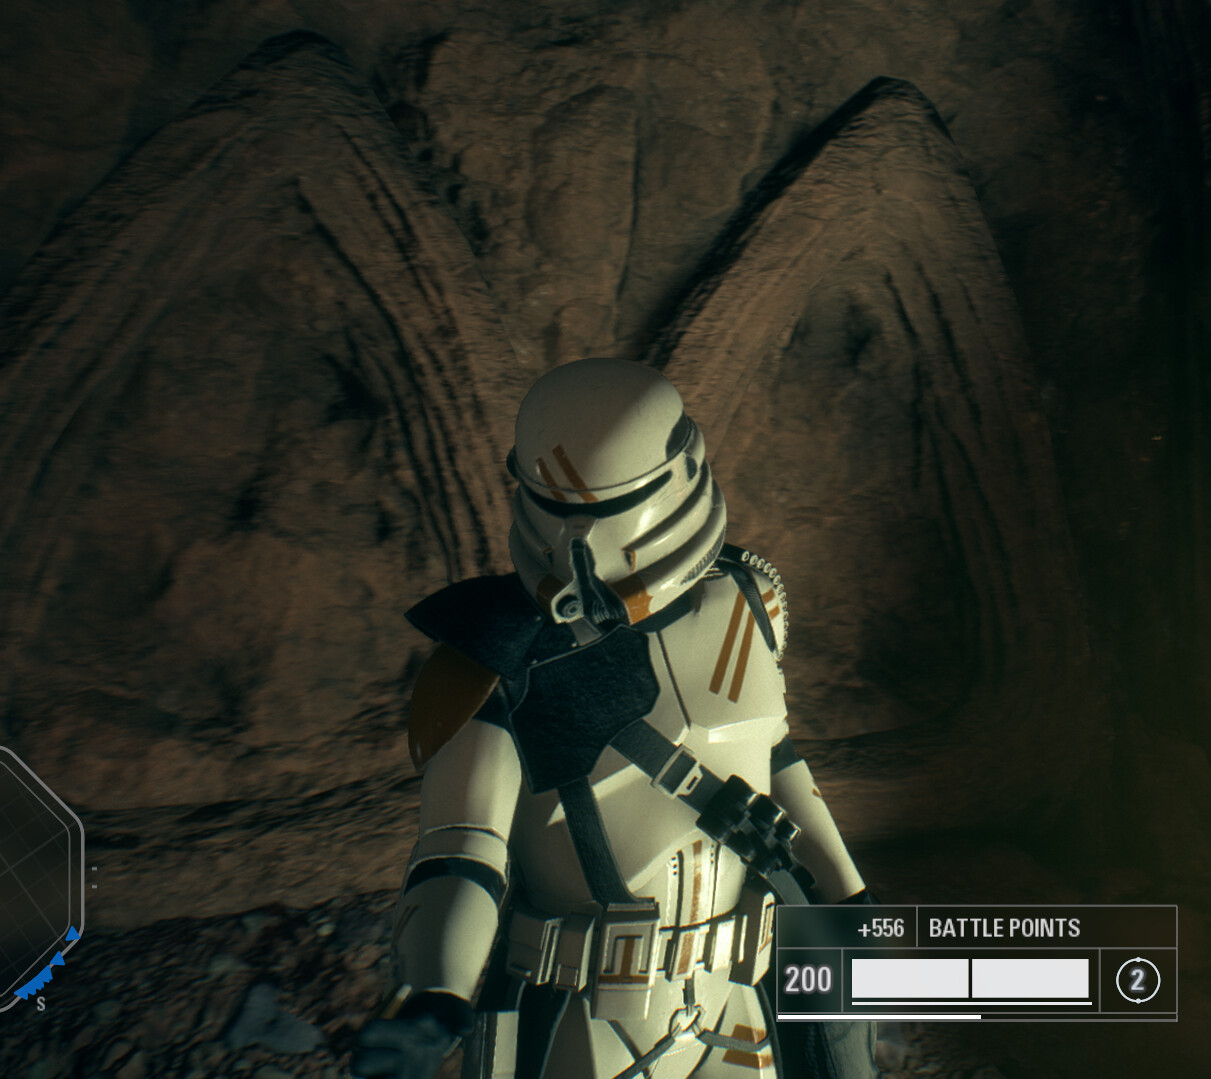
Clone Airborne Trooper From Revenge of The Sith
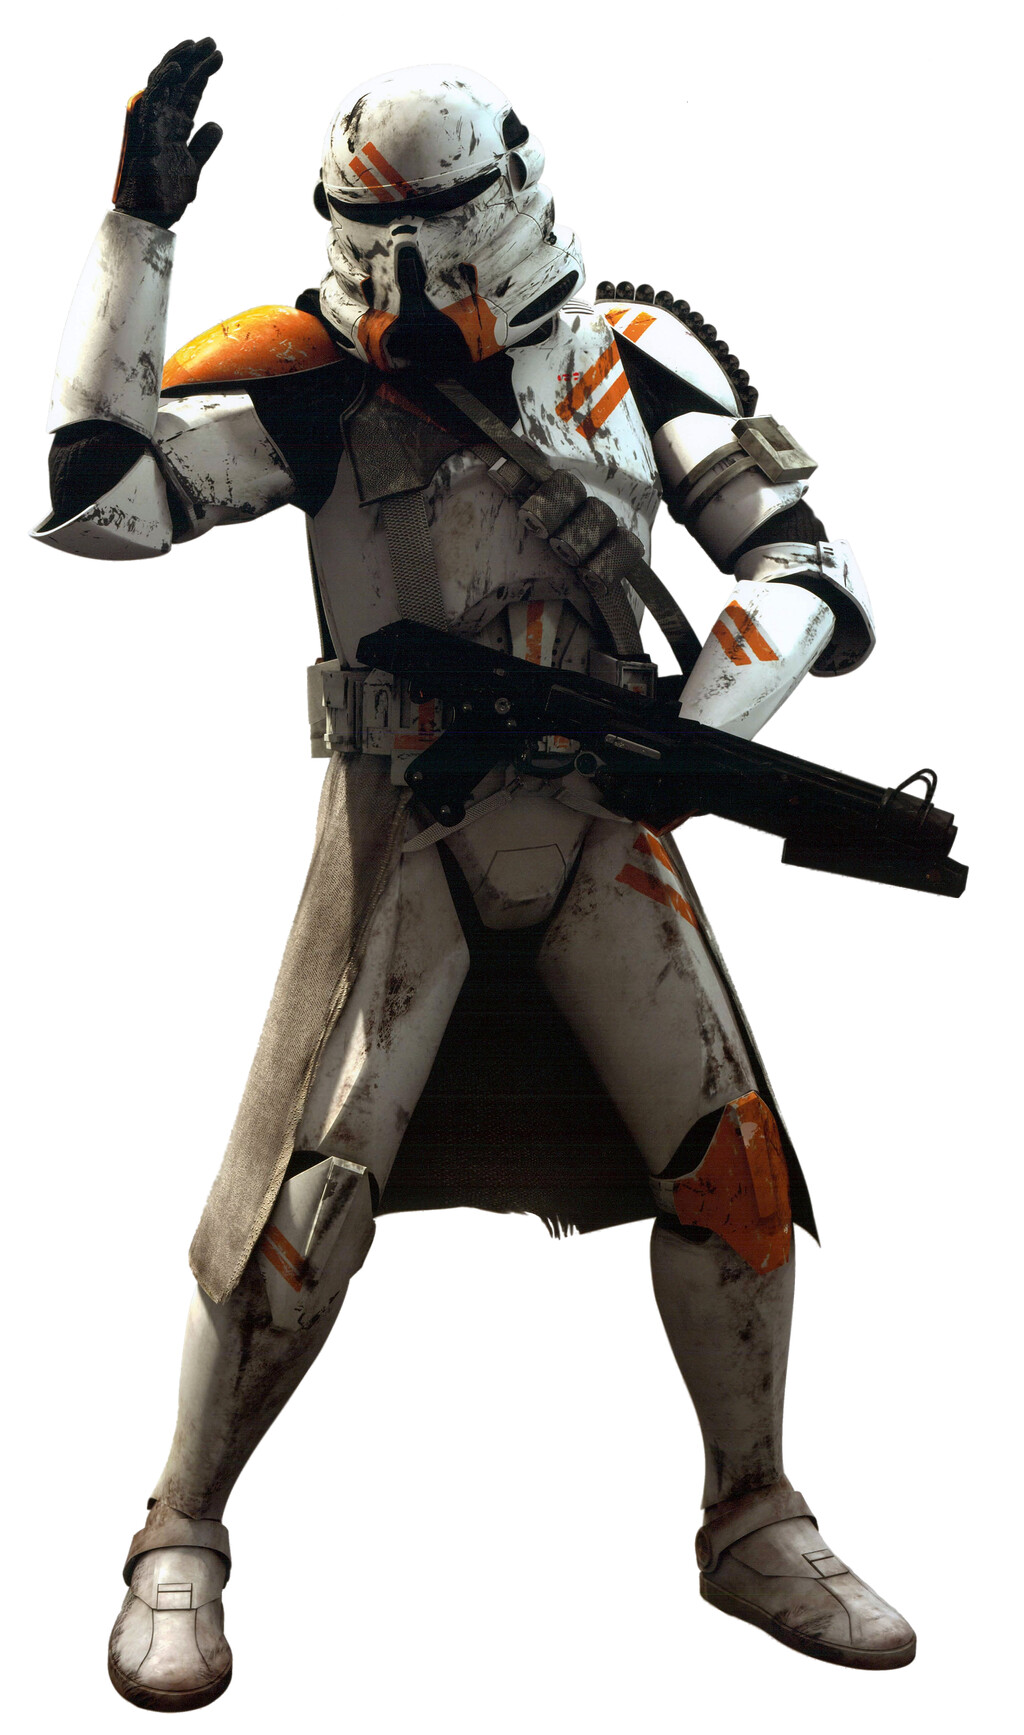
Clone Airborne Trooper Skin - Star Wars Battlefront 2 - Mod (skip to 1s)
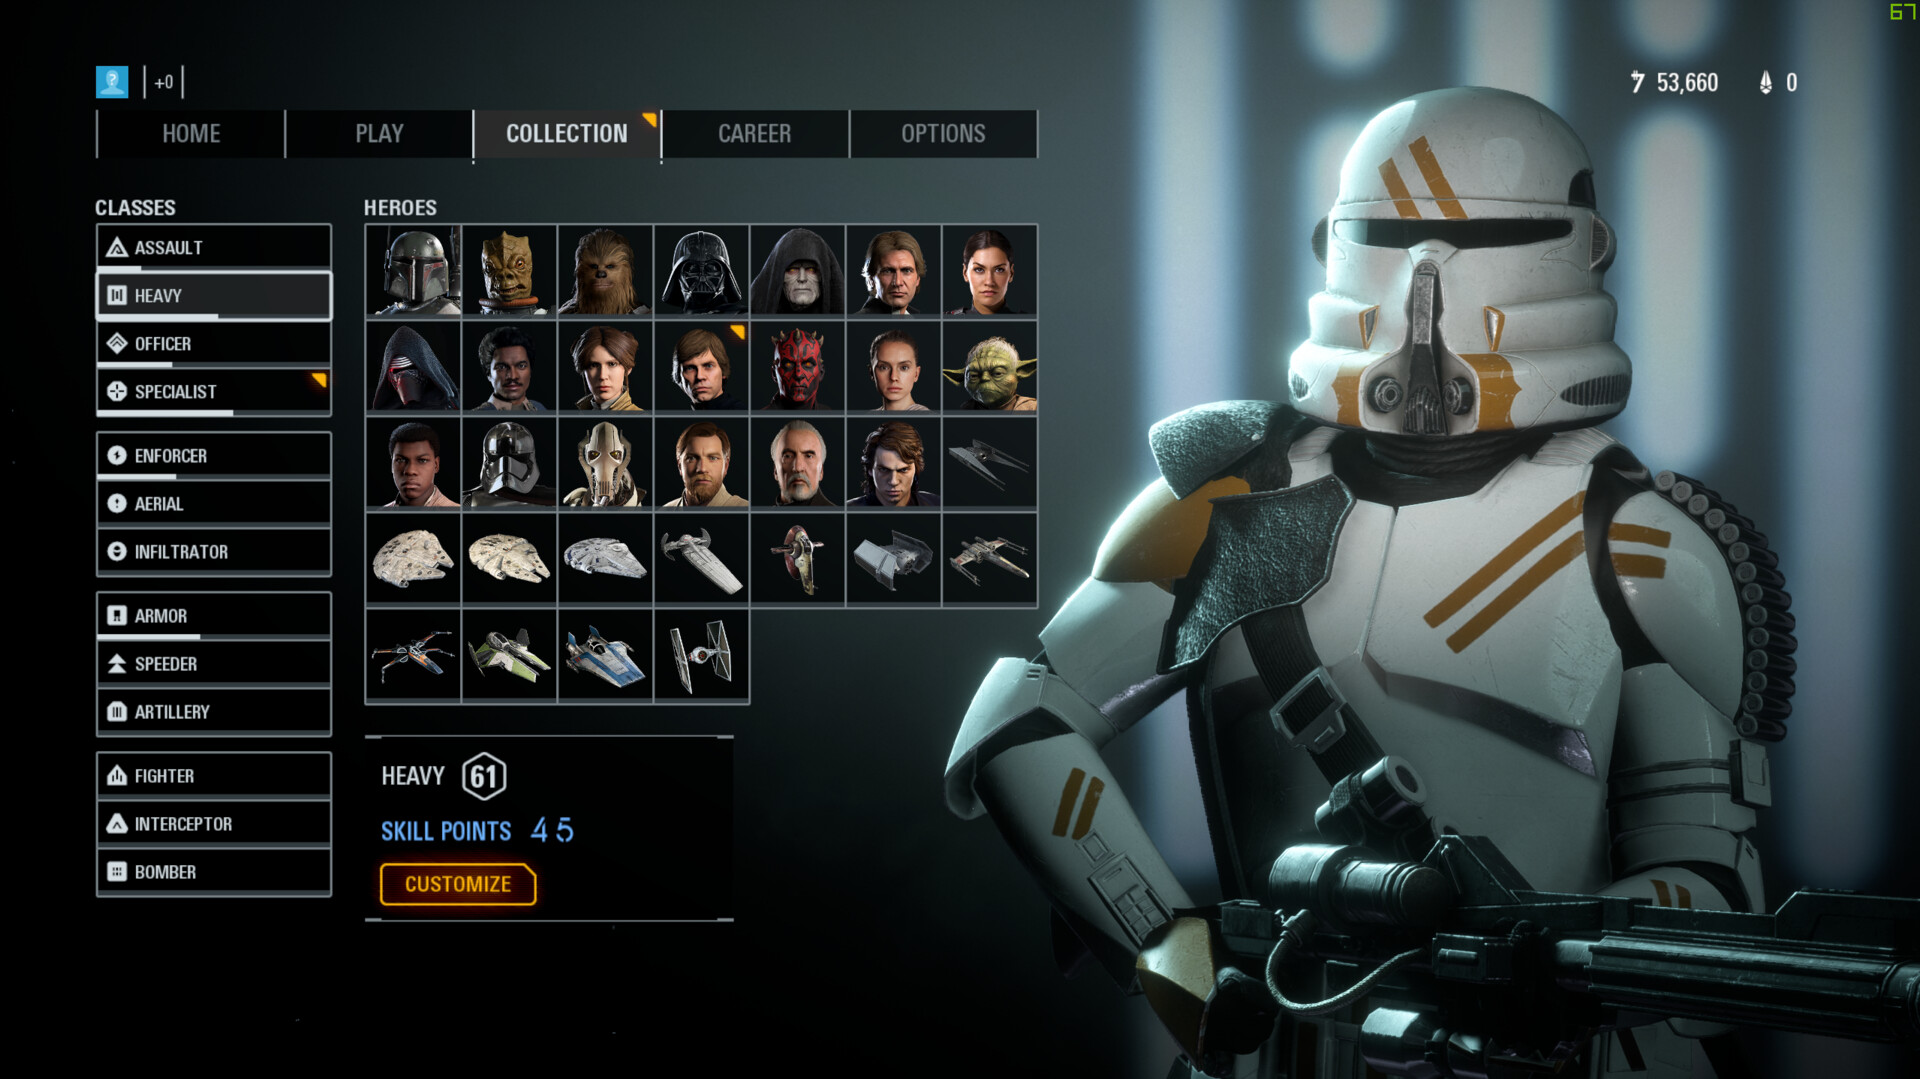
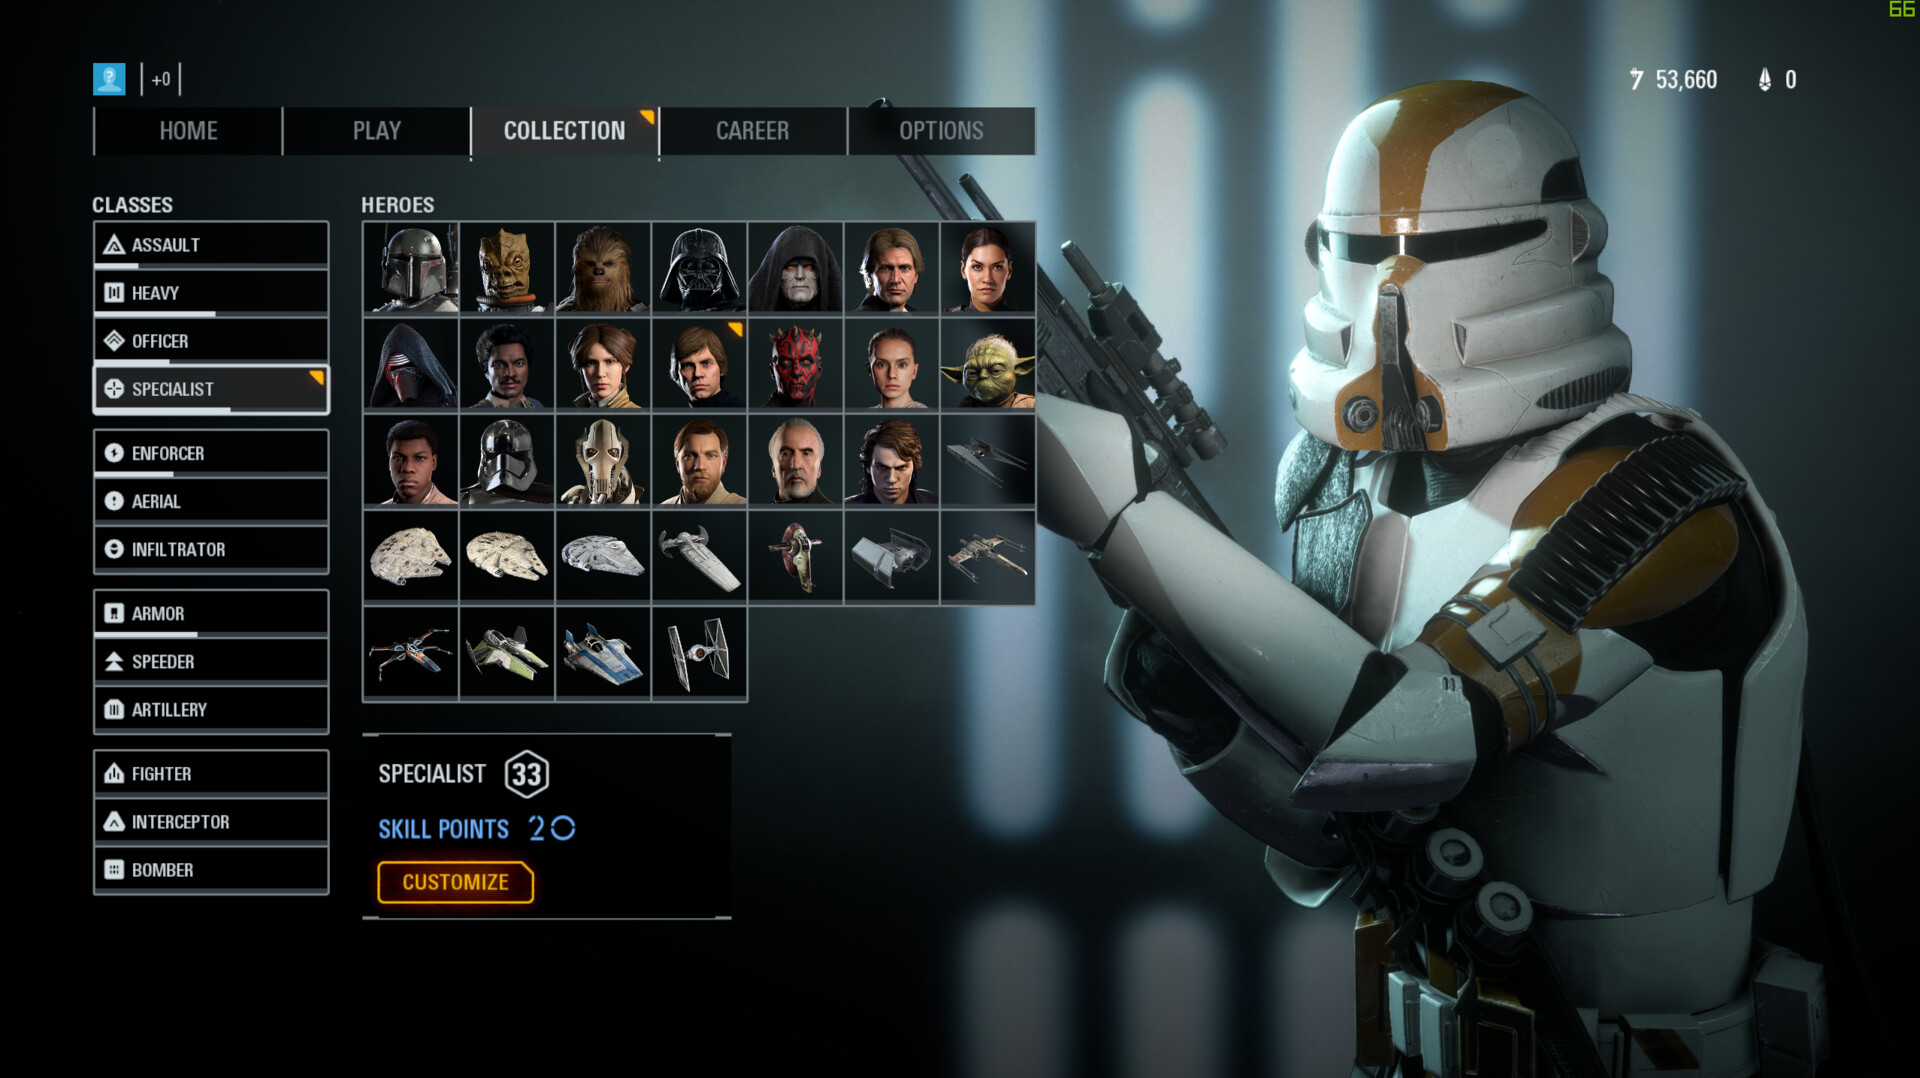




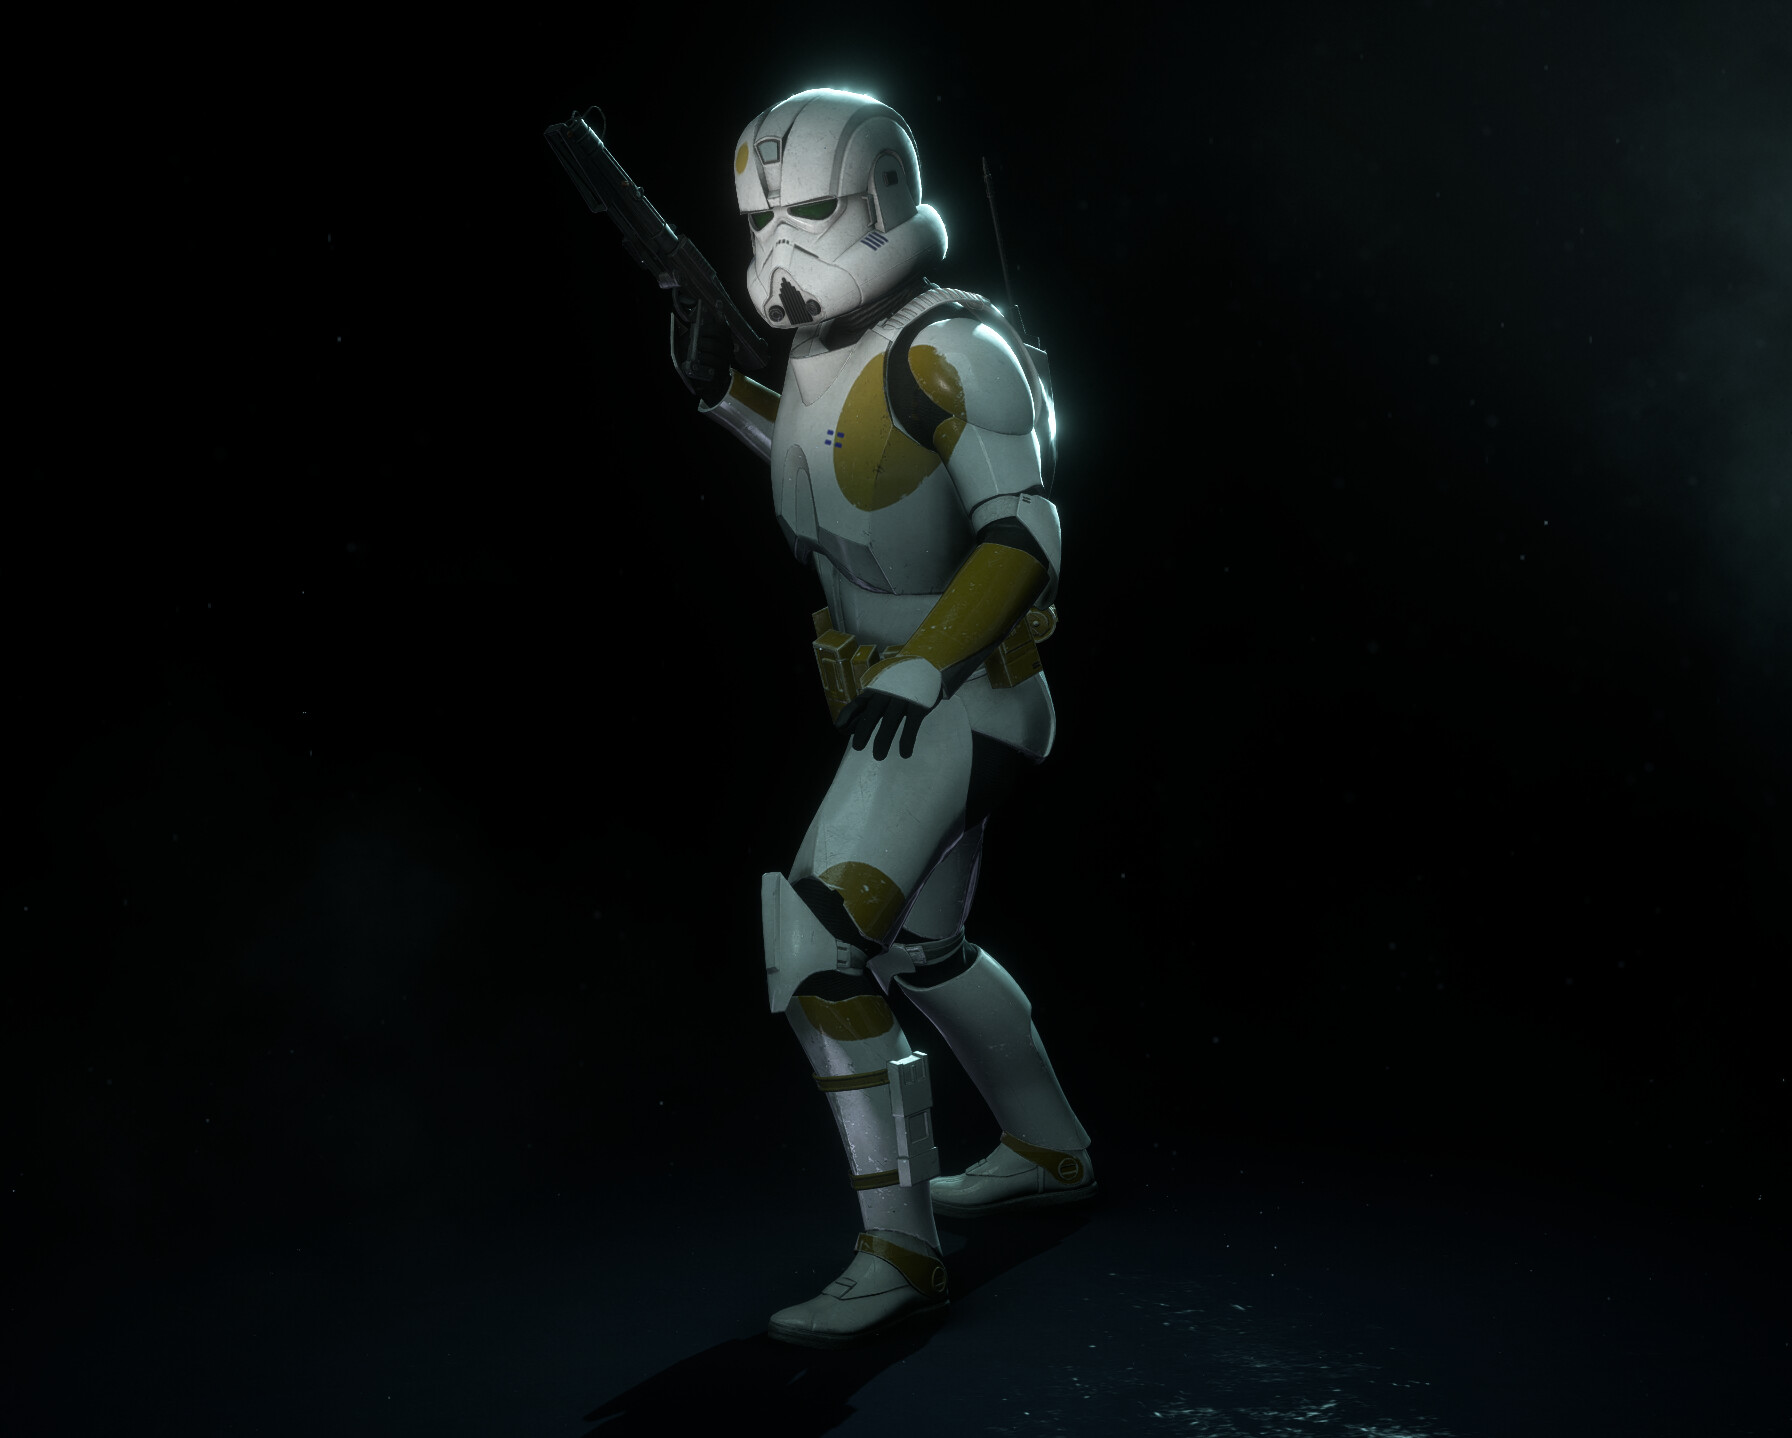
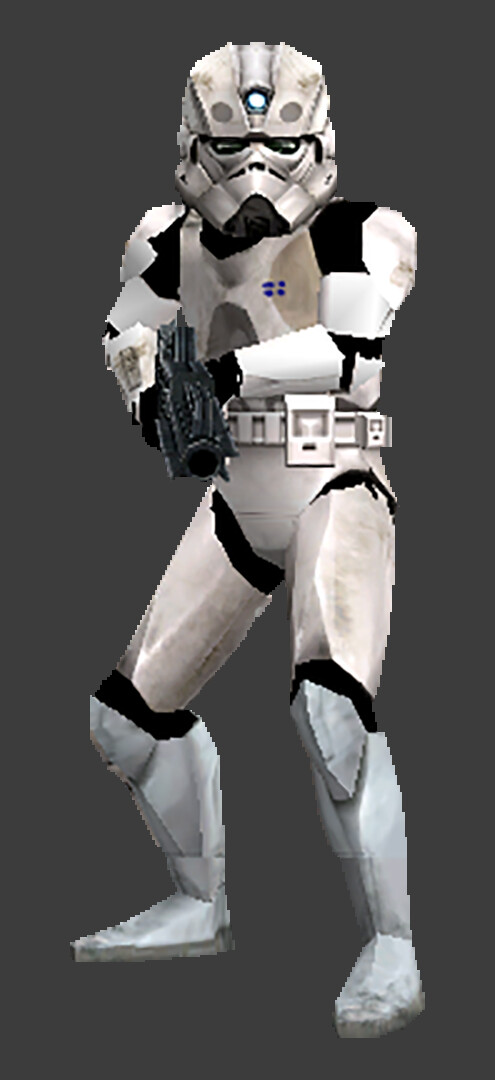
Clone Engineer Trooper from Classic 2005 Star Wars Battlefront 2


Clone SpecOps Trooper from The Clone Wars series.


Since I already had the highpoly models completed from making 3D printable versions of them, all I had to do was retopologize and bake normal and colour maps down onto a low poly mesh.


Exploded model ready for baking. This particular helmet came down to just over 3000 tris.
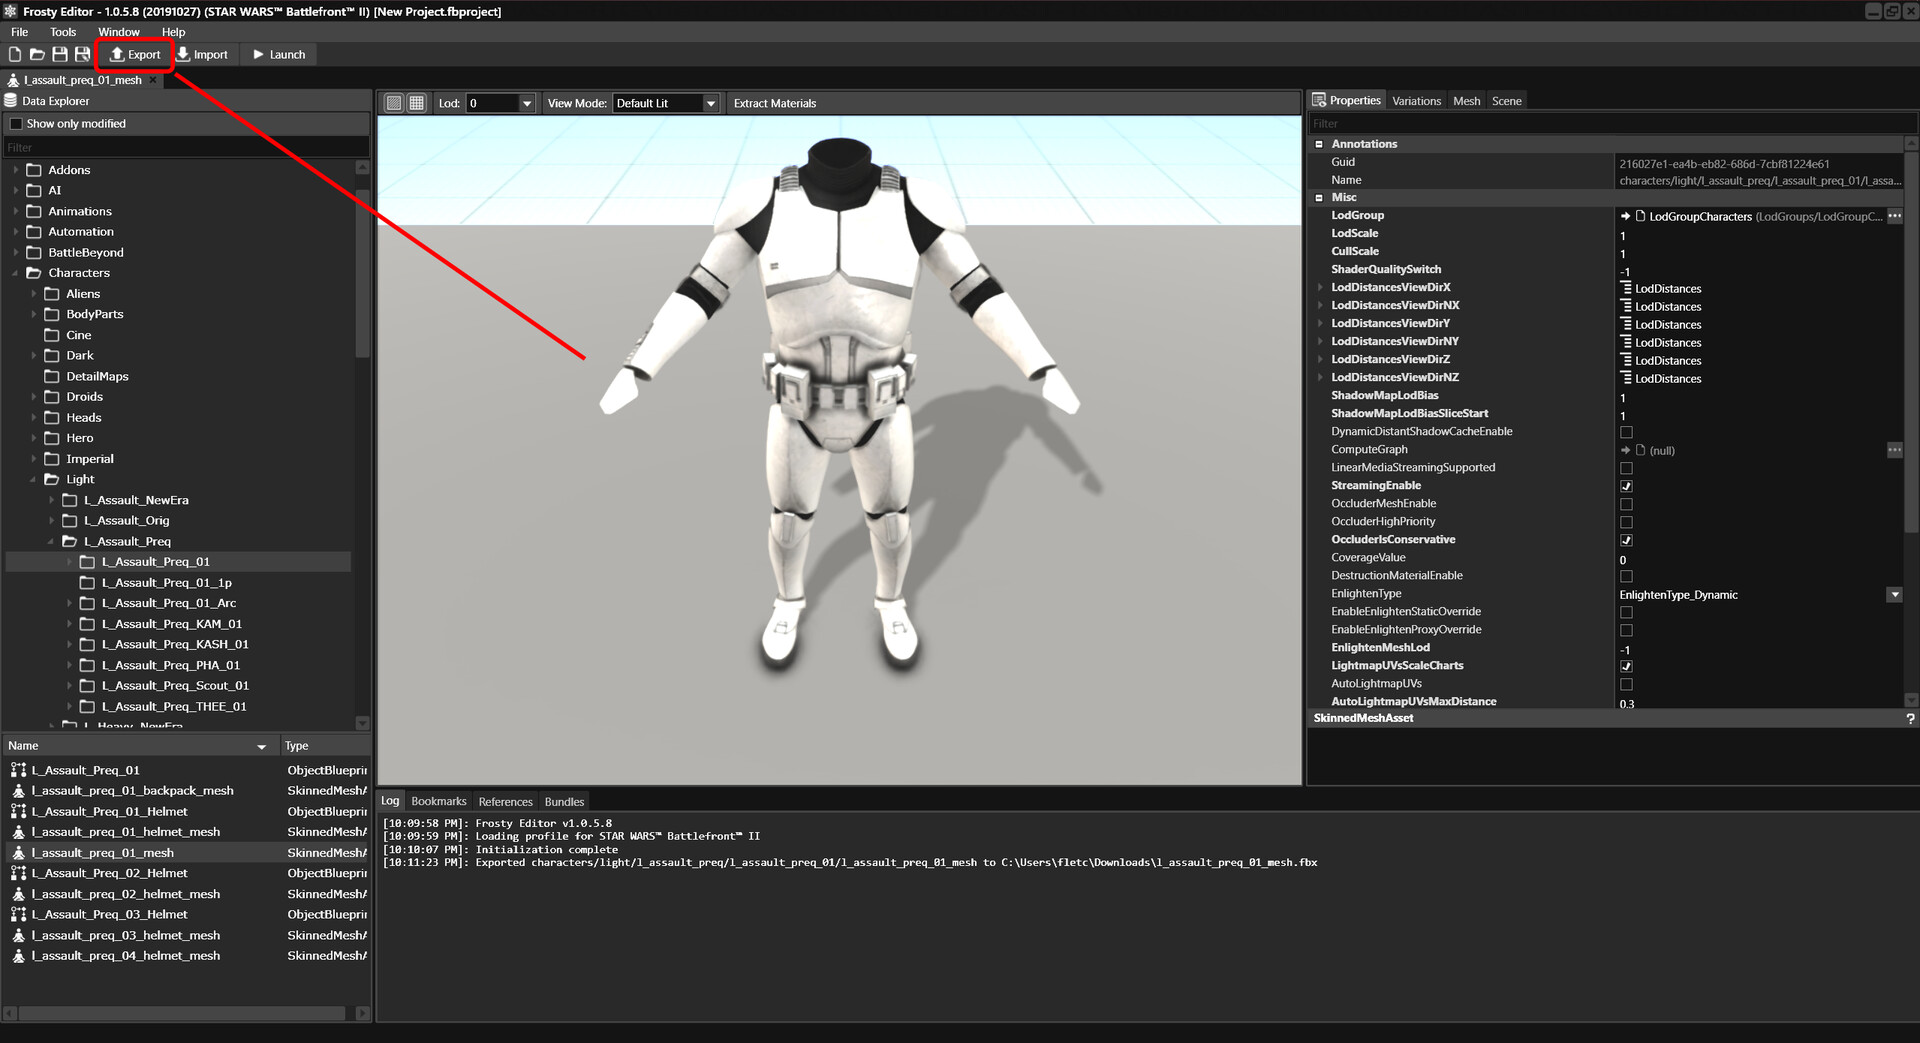
We'll need the base model for reference geometry. 3Ds Max is known to work best for exporting meshes to Frosty Editor, so that's what we'll be working in mainly.
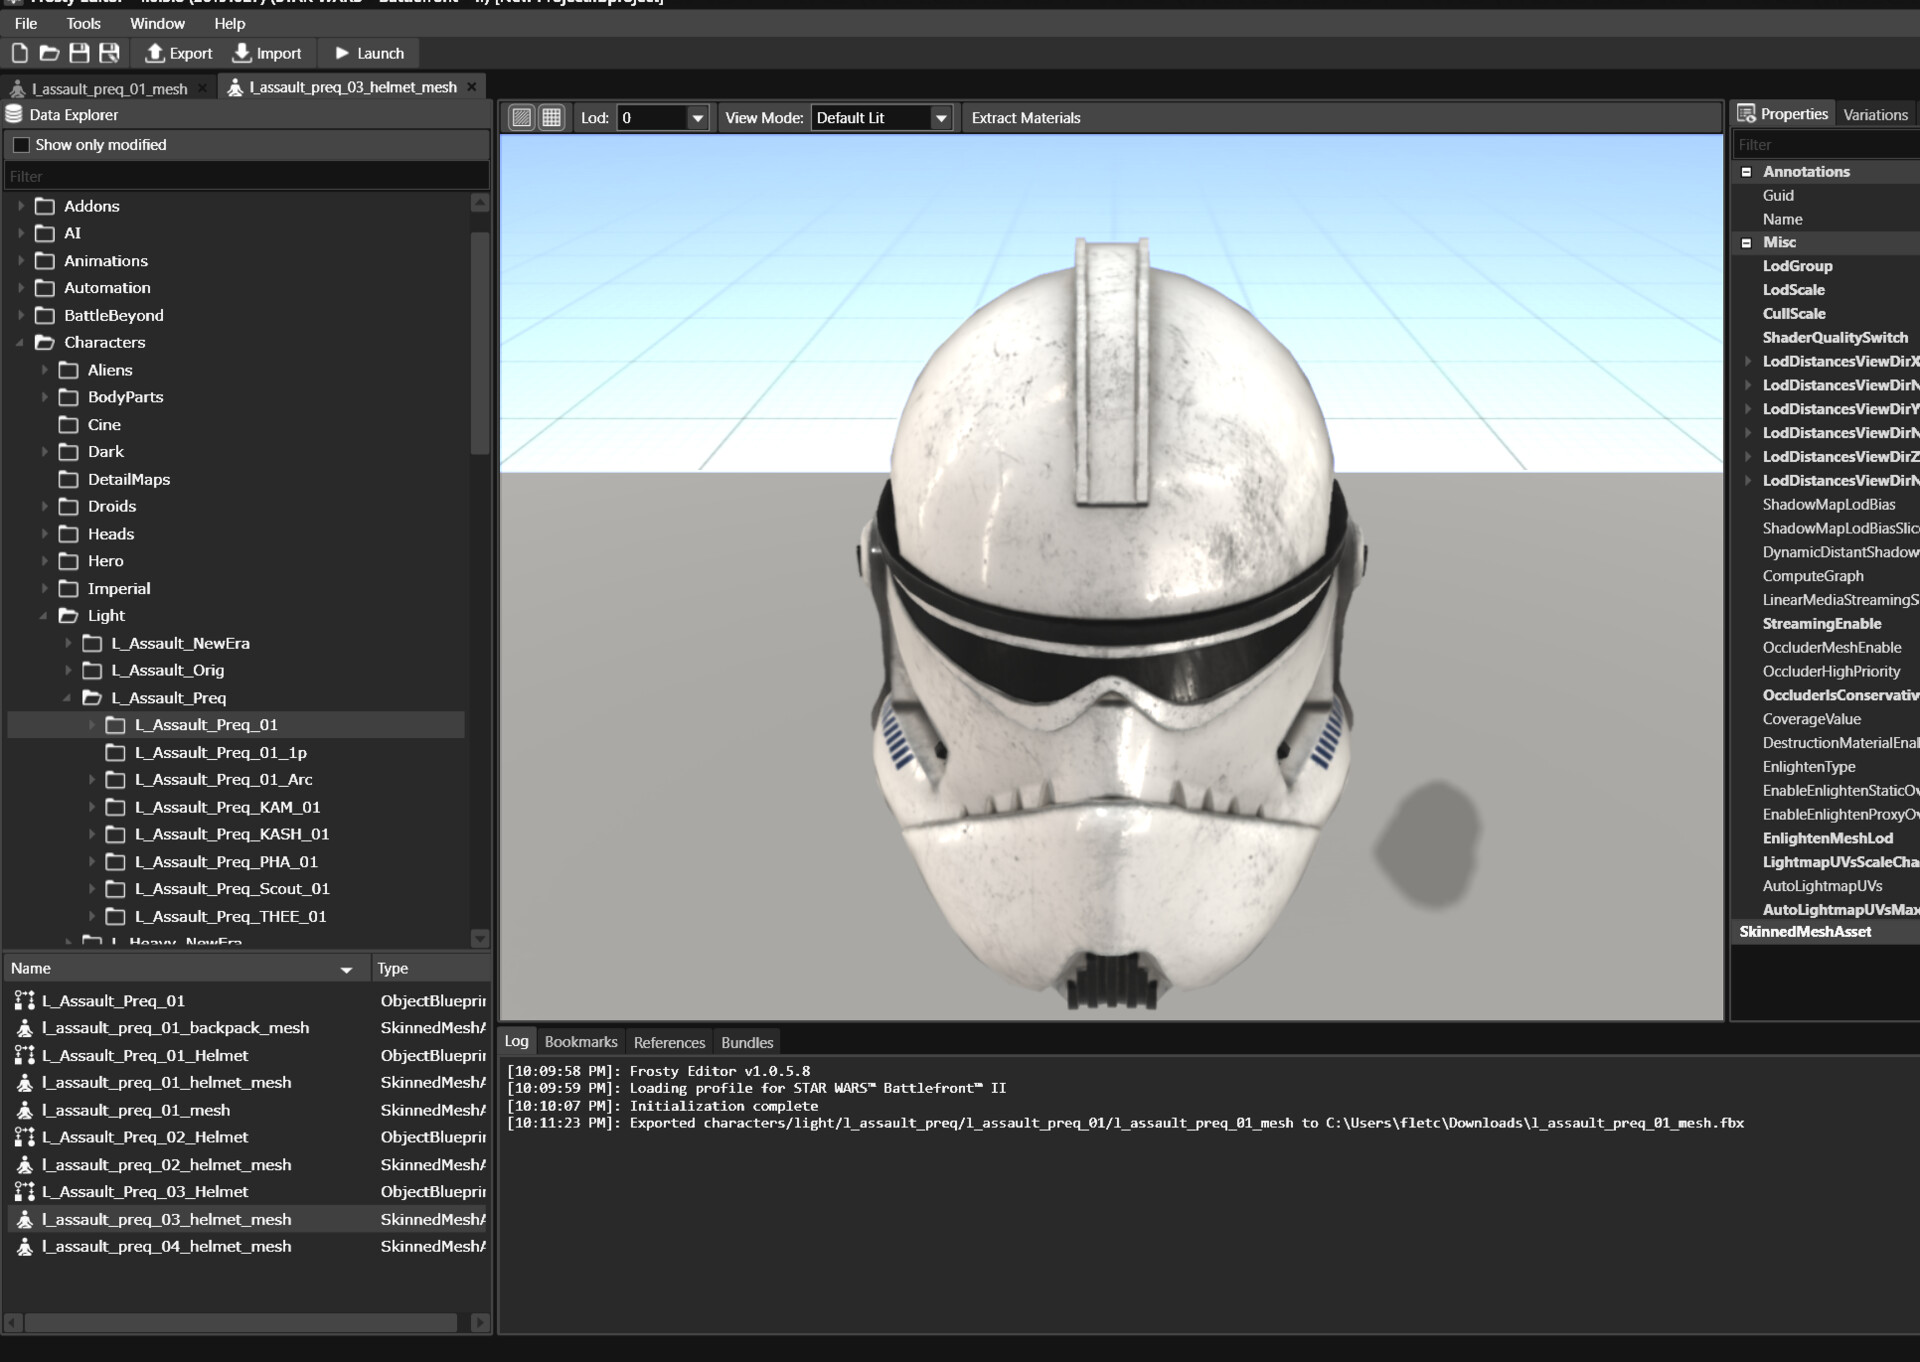
We'll be replacing l_assault_preq_03_helmet_mesh with the engineer helmet. During the whole process it's important not to change the name of the file or LOD models in 3Ds Max.

We've imported the model and can see it comes with the base biped rig along with LODs. In this case the LOD meshes are not named in order so when creating new LODs for the model you have to attach your new mesh to it's respective LOD.

We will use the basemesh gemoetry as a foundation to build accessories.
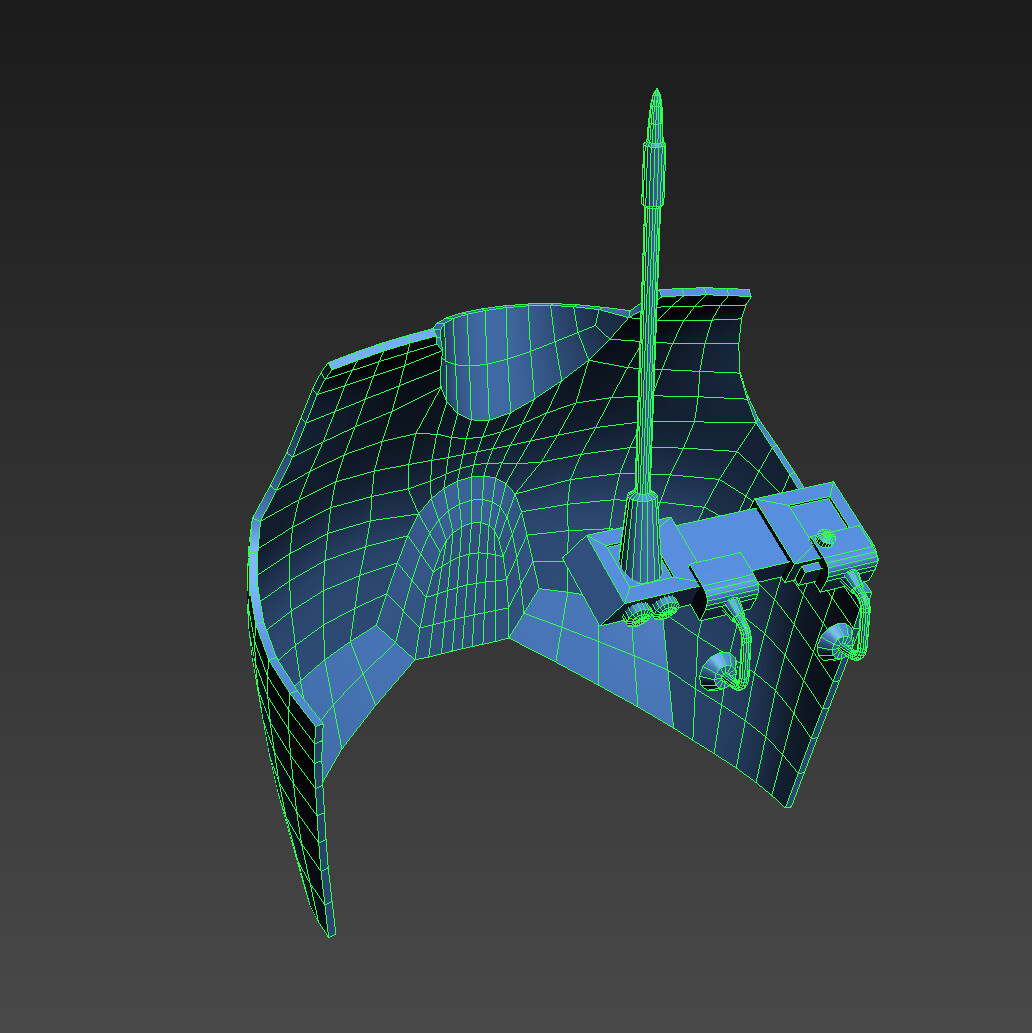
The classic Clone Engineer had a unique chestplate and certain toys depict him with a radio pack and leg pouch

Once we have our model imported, scaled, and alligned correctly we select our original mesh, select faces or elements mode, delete all the original geometry and simply attach our new mesh. Then skin each part to it's respective bone.

Once all pieces have been replaced with our modded geometry we export everything back to Frosty under the exact same file name. We select the correct skeleton for the model to use and hit import

We also go through the textures of helmet l_assault_preq_03_helmet_mesh and replace them with our new ones.


I separate the markings into a black and white mask and export it to it's own texture.

The masking system is pretty nuanced and is based on soldier class. Each skin represents a legion in Star Wars and within that legion you get the 4 classes. Assault, Heavy, Officer, and Specialist. Markings are divided into 2 classes per texture file.

I have to do a lot of copy/pasting to make sure each texture goes in the correct channel and file to work in game.


